
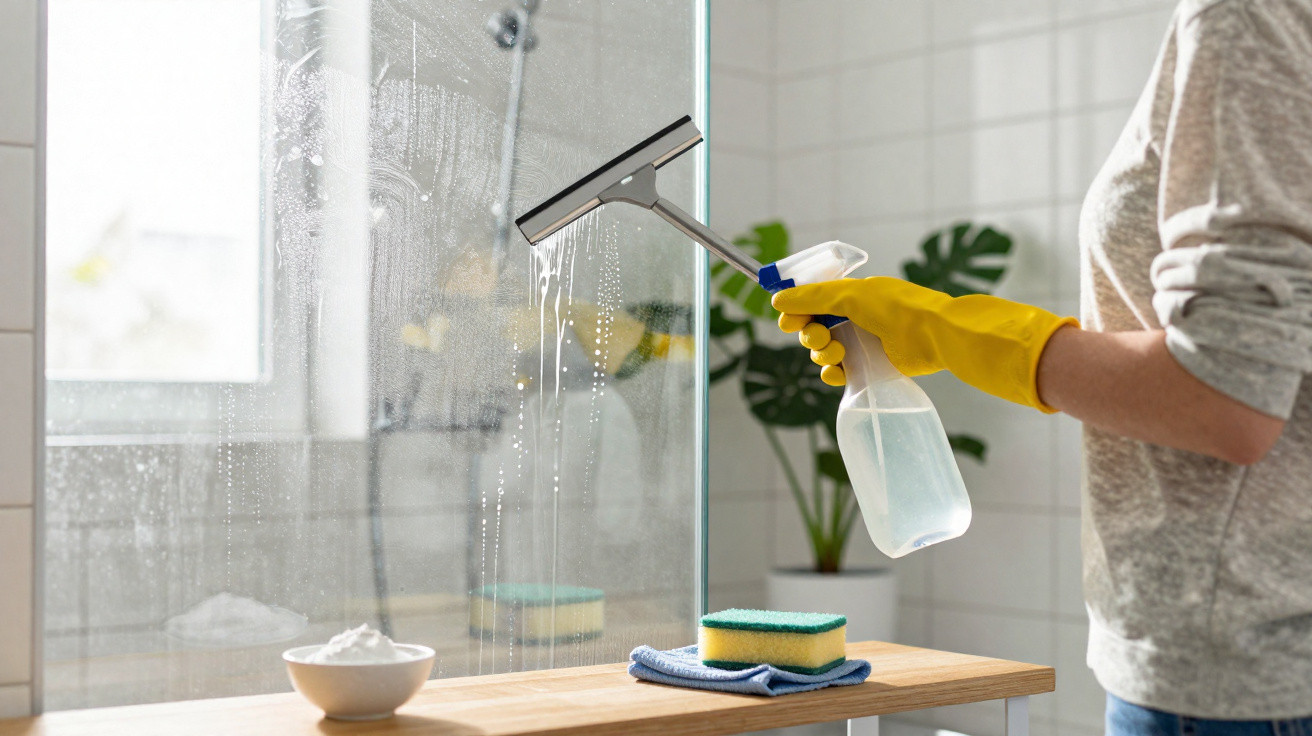
White marks, dark spots and that dull film on the bathroom shower enclosure can appear even when it is cleaned regularly. Glass and grout become stained by limescale, mould and soap residue, which readily cling to damp surfaces and eventually create a crust that is difficult to remove with water and washing-up liquid alone.
Why do limescale, mould and soap cling so firmly to the bathroom shower enclosure?
Limescale is caused by mineral salts in the water, including calcium and magnesium, which remain on the glass once the water evaporates, leaving rough, whitish marks. Mould, meanwhile, develops because of constant humidity, poor ventilation and leftover hygiene products, creating favourable conditions for fungi and unpleasant smells.
Soap marks form when oils from bar soap and shampoo combine with limescale, producing a stubborn film. Because it contains both oily residue and minerals, this layer seems unwilling to “lift” from the surface, so it requires a cleaning method that can tackle minerals, grease and fungi simultaneously without harming the glass.
Watch a video on the Chef Taico YouTube channel about practical vinegar and bicarbonate of soda mixtures for cleaning glass surfaces and removing body-oil marks:
https://www.youtube.com/watch?v=uK8n_b_2jxE
How can you clean the bathroom shower enclosure with less physical effort?
To minimise effort and prevent scratches on the glass, many people use a homemade combination in stages, relying on simple products that complement one another. The principle is to combine a mild acid for limescale, a degreaser for soap residue and an antifungal component for mould in the grout.
These products generally work well together when cleaning the bathroom shower enclosure, provided they are used carefully and left to work for the appropriate amount of time:
- Diluted white vinegar to help dissolve limescale;
- Neutral washing-up liquid to break down grease from soaps;
- Bicarbonate of soda for gentle support with removal and odour neutralisation;
- Hydrogen peroxide in small amounts on grout to help tackle mould.
What is the practical step-by-step method for cleaning the bathroom shower enclosure?
Rather than using force, the key is allowing the products time to work and following a straightforward application order. This makes it easier to remove limescale, mould and soap residue while using only gentle movements with the soft side of a sponge.
A basic method for cleaning the bathroom shower enclosure without harsh scrubbing involves ventilating the room well and removing any items; applying diluted vinegar to the glass and metal fittings and leaving it for 10 to 15 minutes; treating grout with mild hydrogen peroxide, optionally with bicarbonate of soda; then applying diluted neutral washing-up liquid simply to carry away the loosened dirt; and finally rinsing thoroughly and drying with a squeegee or microfibre cloth.
How often should you clean the bathroom shower enclosure to prevent stubborn marks?
Regular maintenance is vital to prevent thick layers of limescale, mould and soap residue from building up. In bathrooms used every day, it is worthwhile rinsing and using a squeegee after each shower, or at least several times a week, as this greatly reduces whitish marks and glass cloudiness.
A more thorough clean using the homemade combination can be carried out weekly or fortnightly, depending on water hardness and the number of people using the bathroom. Keeping the room ventilated, drying the shower enclosure whenever possible and monitoring areas that remain constantly damp helps protect the grout, prevent fungi and keep the glass transparent for longer, with less need for strong chemical products.



Comments
No comments yet. Be the first to comment!
Leave a Comment