
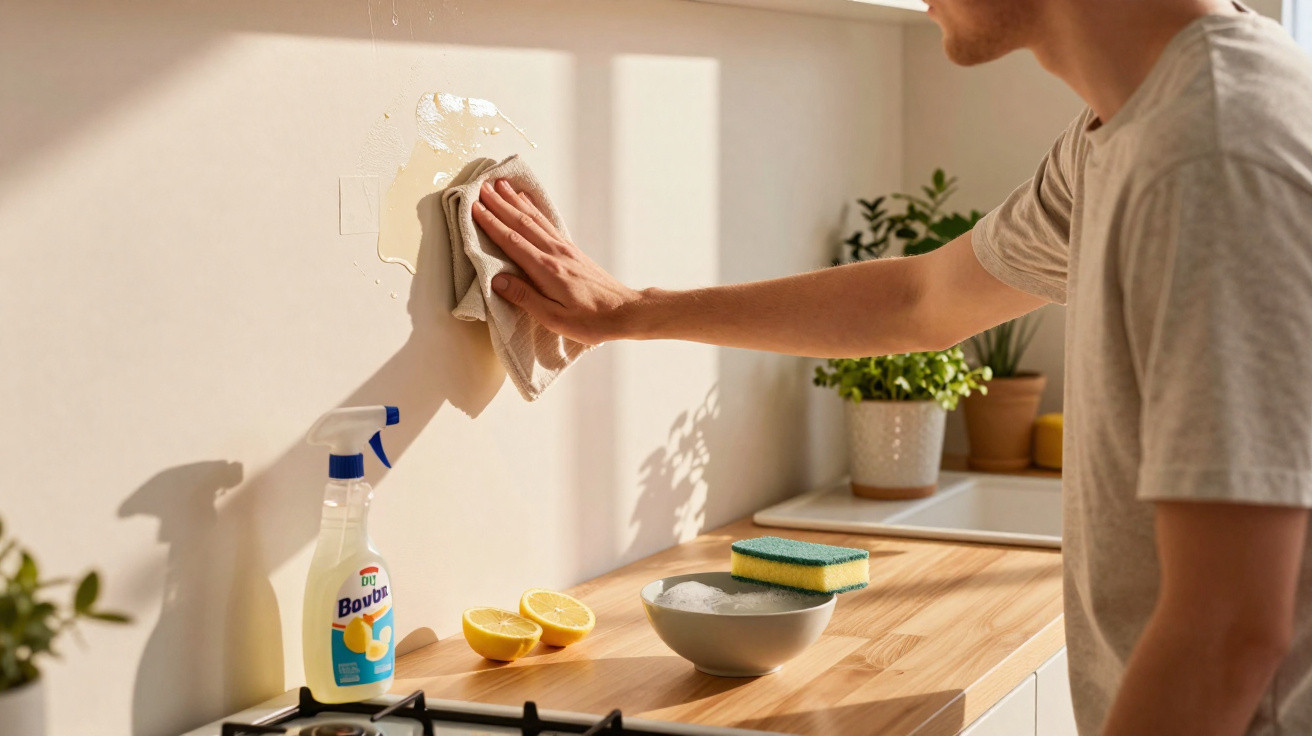
The meal had been flawless until the light caught the wall.
You know the moment: late in the evening, sunlight stretches across the kitchen and every mark you have tactfully overlooked suddenly becomes obvious. Tiny amber specks of oil appeared behind the hob, along with a long glossy grease trail from a pan dropped years ago and a dim halo around the extractor hood. From across the room, the wall still seemed “white”. At close range, though, it revealed another tale entirely. You reach for a sponge and dish soap, rub it twice, and the paint begins to lose colour. One more pass and, instead of removing grime, you are stripping away the wall itself.
That is when you accept that repainting is not an option this month. The question then becomes simple, and rather determined.
How can you remove the stains without removing the paint?
Why grease clings to walls like a bad habit
Spend five minutes beside a frying pan and you are essentially watching a chemistry lesson happen before your eyes.
Heated oil escapes as minute, unseen droplets, which drift through the air before settling on the nearest cool surface: the tiles, extractor hood and, most problematically, the painted wall behind the hob. Initially, these marks can look almost attractive: gleaming dots that are easy to miss. Leave them for a few weeks, add some dust, and they become dull areas that absorb the light. All at once, the wall seems older than the kitchen. This is not loose dirt that can simply be brushed away; it is a clinging film.
Imagine a rented kitchen after two years of speedy meals and no splashback.
A young couple cook frequently in a small flat, with little money and even less spare time. They clean the worktops and sweep the floor, but the walls? Perhaps once a month, at most. When they finally take a proper look, a clear greasy “frame” has formed around the hob. Above the pan, the paint has turned yellow in a faint rectangle. On the right, splashes run down the wall like abstract artwork. Their landlord is due to visit soon. Paint tins, dust sheets and several days for drying simply are not practical. They need a solution that works in one evening, using supplies already in the cupboard.
Grease is difficult to shift because it is both adhesive and deceptive.
It combines with dust, smoke and even tiny food particles suspended in the air. Matte painted walls are slightly porous, allowing oil to soak in instead of remaining on the surface. That is why water alone achieves very little, while forceful scrubbing roughens the paint and spreads the mark. The answer is not “more force”, but the right balance of a mild degreaser and a gentle hand. Once you grasp this, the wall no longer feels beyond saving; it becomes a science experiment you can genuinely win.
Gentle cleaning methods that really work
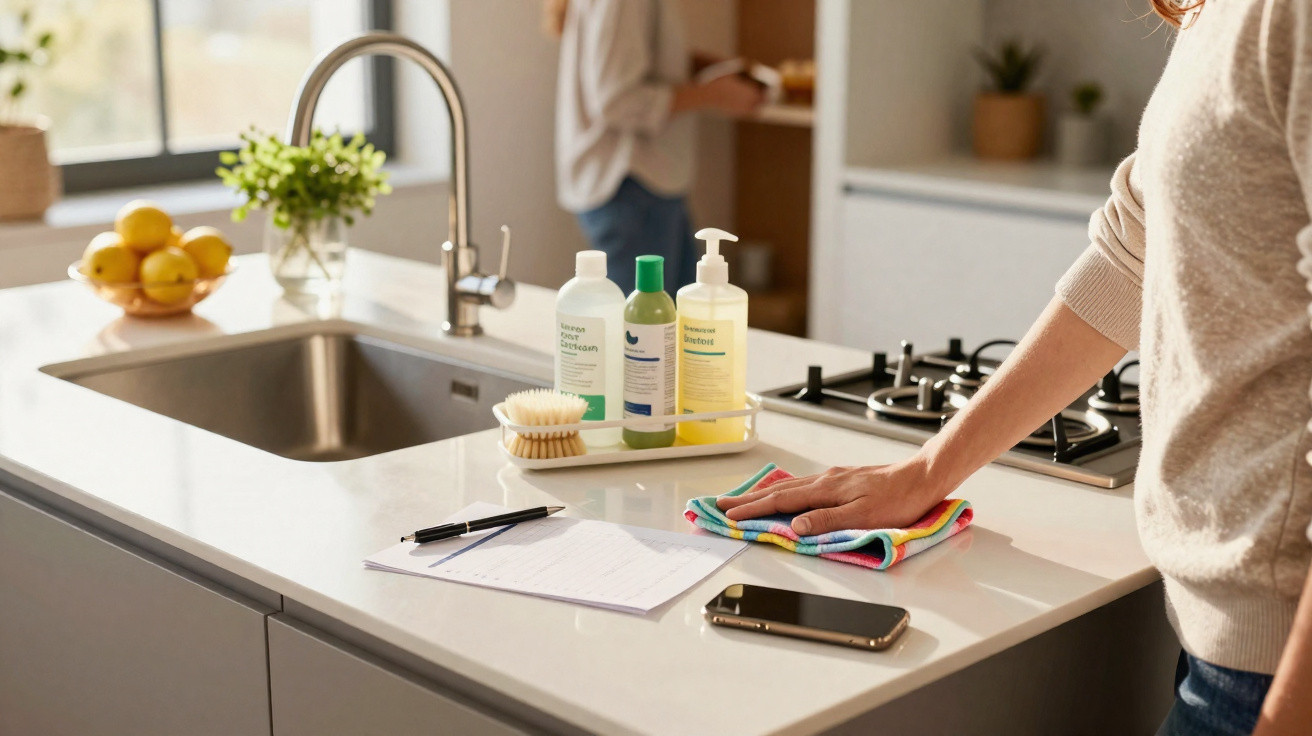
Begin with the least harsh option: warm water, a drop of dish soap and an exceptionally soft cloth.
Pour comfortably hot water into a small bowl, add only enough washing-up liquid to create a few bubbles, then dip in the cloth and wring it until it is nearly dry. First, test the method in a concealed corner. Next, dab at the greasy patch rather than scrubbing it. Allow the soapy water to rest on the stain for a few seconds, then wipe in small circles, moving from the outside towards the centre. Rinse the cloth regularly so that you remove the grease instead of spreading it. To finish, gently pat the area with a fresh damp cloth and dry it with a towel.
If dish soap alone does not do the job, move on to an easy homemade solution of lukewarm water and a little white vinegar.
People often reach for strong chemicals too soon, only to create cloudy areas or glossy marks on matte paint. A teaspoon of vinegar in half a litre of water, used with care, can break down older splatters without “burning” the finish. As before, test it behind the fridge or beneath a cupboard first. We have all experienced that moment of realising the cleaning product has caused more harm than the original stain. Take your time, stand back, and allow the wall to dry completely before assessing the outcome. Sometimes a stain does not properly vanish until the surface is fully dry.
Eventually, you may need more precise tools, but repainting is still unnecessary.
One professional cleaner I spoke to summed it up in one sentence: “Your goal is to soften the grease, not fight the paint.”
For particularly stubborn marks, a very small amount of baking soda may be useful. Create a thin paste with water, apply it gently with your fingertip, then wipe it away almost at once using a damp cloth. Do not leave it in place as though it were grout. A melamine foam sponge may work brilliantly on gloss or satin paint, provided you treat it like a feather rather than sandpaper. Honestly, no one manages this every single day.
For an easy way to remember the options, use this simple toolkit:
- Warm water + dish soap: the first defence against fresh grease
- Diluted white vinegar: for older, dull marks needing extra cutting power
- Very light baking soda paste: only for isolated, stubborn stains
- Melamine foam sponge: gentle, tiny touches on resistant splashes
When the wall is clean but the story continues
The curious thing about removing grease is that a clean wall makes you view the kitchen in a new way.
The blank space over the hob, previously just “the wall”, can suddenly seem like a battlefield awaiting its next assault. You begin to notice how high your pans sit, how oil leaps when food hits hot fat, and the angle at which you hold your spatula. Perhaps you move the hob a few centimetres from the wall or place a temporary panel behind it the next time you fry food. Without making your home feel like a design programme, your routines subtly change because you have seen what happens over months and years.
Some people go further by establishing small routines.
They might quickly wipe the wall with a damp cloth every Sunday evening, remember to angle lids slightly while simmering, or make a rule not to deep-fry without a protective screen. Others create a DIY splashback from a stainless-steel sheet or a washable panel propped against the wall. These are not dramatic renovation projects. They are modest choices that protect your time, budget and landlord’s paint. Over a year, they bring fewer marathon cleaning sessions, less embarrassment when the light hits the wall at an unflattering time, and a kitchen that feels cared for rather than merely “managed”.
There is also a question that people seldom voice: how clean is “clean enough”?
A kitchen does not need every faint trace removed to feel pleasant and lived-in. A wall holding a few nearly invisible reminders of past meals is not a failure; it is simply a wall that has been used. The real success is knowing what to do when a fresh splatter lands or an old stain starts to annoy you. Passing these straightforward tips to friends, sharing a recipe for a reliable homemade degreaser, or admitting you once nearly stripped paint with the wrong product represents the human side of home care that glossy magazine spreads never show. That is usually where the most valuable advice is found.
| Key point | Detail | Value for the reader |
|---|---|---|
| Start gentle | Begin with warm water, mild dish soap and a soft cloth before trying anything stronger | Protects the paint and lowers the chance of dull patches |
| Test every product | Test cleaners in a hidden corner and allow them to dry fully before treating visible sections | Prevents permanent marks or shiny halos on the wall |
| Adopt small habits | Carry out quick weekly wipe-downs and use simple splash barriers near the hob | Reduces build-up over time, means fewer major cleaning sessions, and avoids repainting |
FAQ:
- Question 1 Can I use oven cleaner or strong degreasers on painted walls?
- Answer 1 It is best to avoid them on paint. These products are made for metal and enamel, and may strip colour or create permanent streaks. Use dish soap, diluted vinegar and mild methods first.
- Question 2 What if the grease stain has been there for years?
- Answer 2 Work in stages: begin with soapy water, follow with a vinegar solution, then use the smallest touch of baking soda. Let the wall dry completely between steps. If the paint itself has discoloured, cleaning can improve it, but only repainting will fully bring back the colour.
- Question 3 Can magic eraser sponges damage my wall?
- Answer 3 Yes, particularly if you apply too much pressure or use them on matte paint. They are micro-abrasive. Test a small area first, use an extremely light touch, and do not repeatedly rub back and forth over the same spot.
- Question 4 Is there a quick fix before guests arrive?
- Answer 4 Wipe the area using a barely damp cloth with a drop of dish soap, then dry it immediately. For highly obvious marks, temporarily cover them with a framed print, chopping board or a leaning panel until you can clean them more thoroughly.
- Question 5 How often should I clean the wall behind the stove?
- Answer 5 Every 2–4 weeks suits most kitchens, or immediately after intensive cooking involving plenty of oil. Regular light cleaning stops splashes becoming those persistent, sticky patches that seem impossible to remove.


Comments
No comments yet. Be the first to comment!
Leave a Comment