
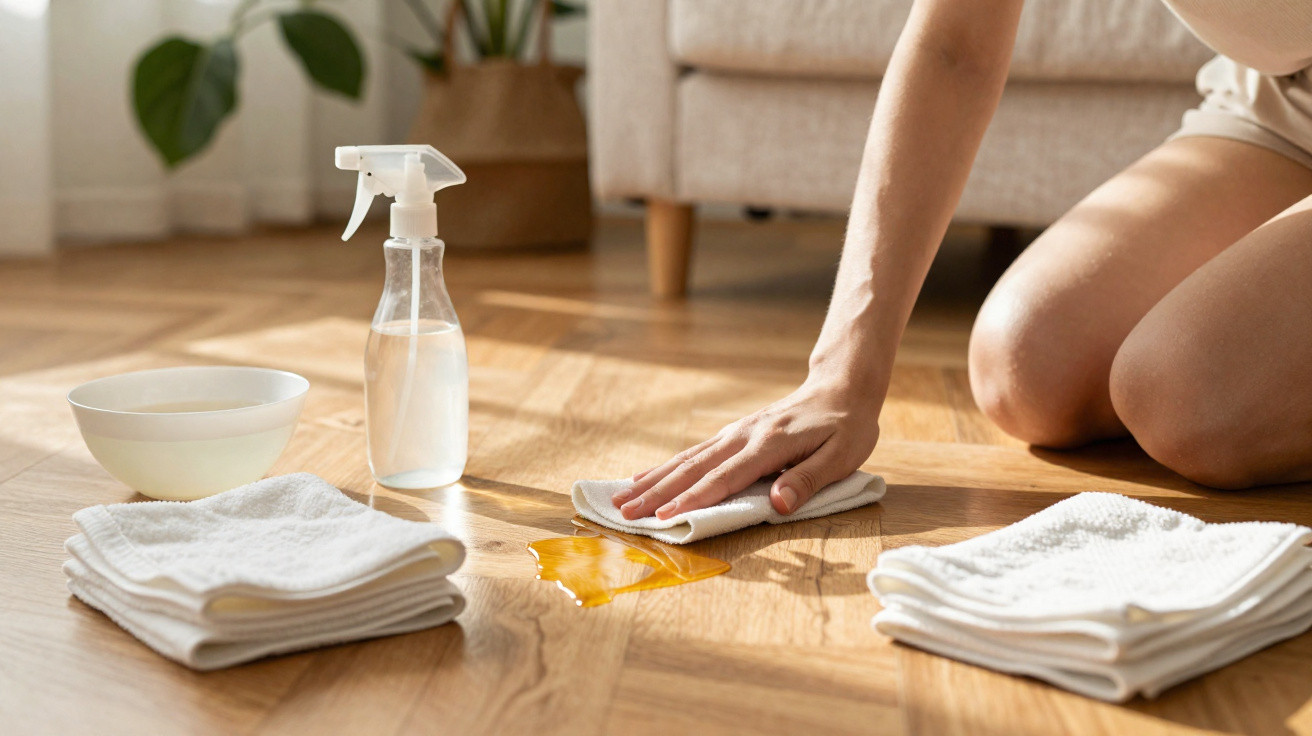
It was not the lighting but a film: a dull, cloudy layer that had gradually swallowed the lustre of her hardwood floors. The day before, they had seemed “fine”. Now they looked weary, tacky and almost ashamed. She had mopped them, tried vinegar because a blog insisted it worked, and even bought costly wax promising “mirror-like gloss”.
The outcome? A few shiny patches, streaks everywhere else. Bare feet squeaked rather than glided, while the dog’s paws left pale prints in the light. The flooring was not exactly old-looking; it simply appeared… defeated.
That morning, a neighbour came in, stopped halfway through a step and said: “Whoa, what did you do to your floors?” She had not used vinegar or wax. Her method was almost absurdly straightforward.
Once you learn it, you will not look at hardwood floors in quite the same way again.
Why hardwood floors look dull even after cleaning
Hardwood flooring seldom loses its shine in a single night. The change happens so gradually that you only notice when the whole room starts to feel lifeless. Rather than bouncing, light seems to fall on the surface and remain there. You mop, vacuum and perhaps reach for that bottle of “wood cleaner” with its artificial orange scent.
Then you step back and peer at it. The streaks remain. Scuffs by the entrance still draw your eye. A glossy area beneath the dining table seems to taunt the worn-looking route in front of the sofa. Technically, the floor is clean, yet it has no vitality.
On a quiet evening, you may even scroll through before-and-after images, wondering what everyone else knows that you do not.
One US home-care survey found that owners of hardwood floors clean them “properly” roughly once every three weeks, despite most products recommending weekly care. Let’s be honest: nobody really does that every day. Life intervenes. Children bring in dirt, pets carry in grit and visitors drag tiny stones indoors in their shoe soles.
This does more than make a floor dirty. It causes microscopic scratches that capture and scatter the light. Add residues from cleaning products, vinegar mixtures or wax, and a cloudy coating forms between your eyes and the natural timber.
One woman I interviewed said her hallway seemed to have a permanent Instagram filter: soft, washed out and faintly grey. She was right. That “filter” was simply residue that had accumulated unnoticed over many months.
Vinegar is widely praised as a natural miracle cleaner for hardwood. When properly diluted and used infrequently, it can be acceptable. Frequent use, however, gradually erodes the protective finish on the floor. Wax behaves more like make-up applied over unwashed skin. The first layer can look good; by the third, it begins to cake.
Neither method addresses the real culprit: embedded dirt and product build-up sitting on top of the finish. Your floor does not need more products; it needs fewer. Remove that build-up correctly and even an older surface can suddenly brighten and reflect light again.
Picture the finish as a clear window protecting beautiful timber. If that window is covered in soap film and fine scratches, polishing alone will not make the view clear. The answer is not magic, but careful and gentle removal of the grime without harming the finish beneath it.
The simple hardwood floor trick that restores shine
The method that transformed that dull kitchen floor involved a very mild pH-neutral cleaning solution, a barely damp microfibre pad and a slow, thorough buff with a clean, dry microfibre cloth immediately afterwards. No vinegar, wax or excessive water: only gentle cleaning followed by proper, old-fashioned buffing.
It may sound too easy to work. But the dry-buffing stage, which most people miss out, is where the shine returns. The damp pass lifts residue, while the dry pass evens out the finish, smooths minute streaks and restores a soft natural sheen. It is like drying a wine glass until it squeaks and suddenly becomes crystal clear.
The floor has not changed in colour or age; you are simply allowing its finish to do the work it was designed to do.
One Tuesday evening, after putting her children to bed, my neighbour decided to test it. She put a capful of pH-neutral hardwood cleaner into a small bucket of lukewarm water. There were no suds and no overpowering fragrance. She wrung out her flat microfibre mop until it was only just damp: not dripping and not leaving visible pools of water.
She worked in small areas, moving the mop with the grain before immediately following with a dry microfibre cloth beneath her foot, almost as if she were skating. That second part added 15 minutes. By the time she got to the hallway, the living room behind her already appeared noticeably brighter.
When daylight came in the following morning, the difference could not be missed. The floor did not look glossy or plastic-like; it looked like genuine wood again. The traffic lanes had become less prominent and the cloudy patches had disappeared. Nothing had been refinished. She had merely stopped smothering the finish.
The reasoning is almost unexciting. Hardwood finishes are made to reflect light when they are smooth and clean. Vinegar is acidic, and repeated application may dull or etch the finish. Waxes and oily polishes attract dust and hold it in place, producing a sticky film that catches every footprint and paw mark.
A pH-neutral cleaner releases dirt and residue without attacking the finish. Microfibre captures that grime rather than moving it around. Dry buffing then evens out the microscopic streaks left by the damp pass and lightly warms the surface through friction, revealing a gentle glow. There are no oils, silicone or artificial gloss: just the original finish, visible again at last.
Once you recognise that you are cleaning the finish rather than the timber itself, your approach changes. Instead of adding layers of products, you remove what should not be there. Bare feet no longer stick to the surface. Chairs slide rather than snag. Light travels over the boards instead of seeming to die on impact.
How to clean and buff hardwood floors at home - and what to avoid
For the practical approach, begin with dry cleaning. Vacuum using hard-floor mode, or sweep with a soft broom, to remove grit and dust. Those small particles are what scratch a finish. Next, combine a pH-neutral hardwood cleaner with lukewarm water in a small bucket, following the label directions so the mixture remains mild rather than soapy.
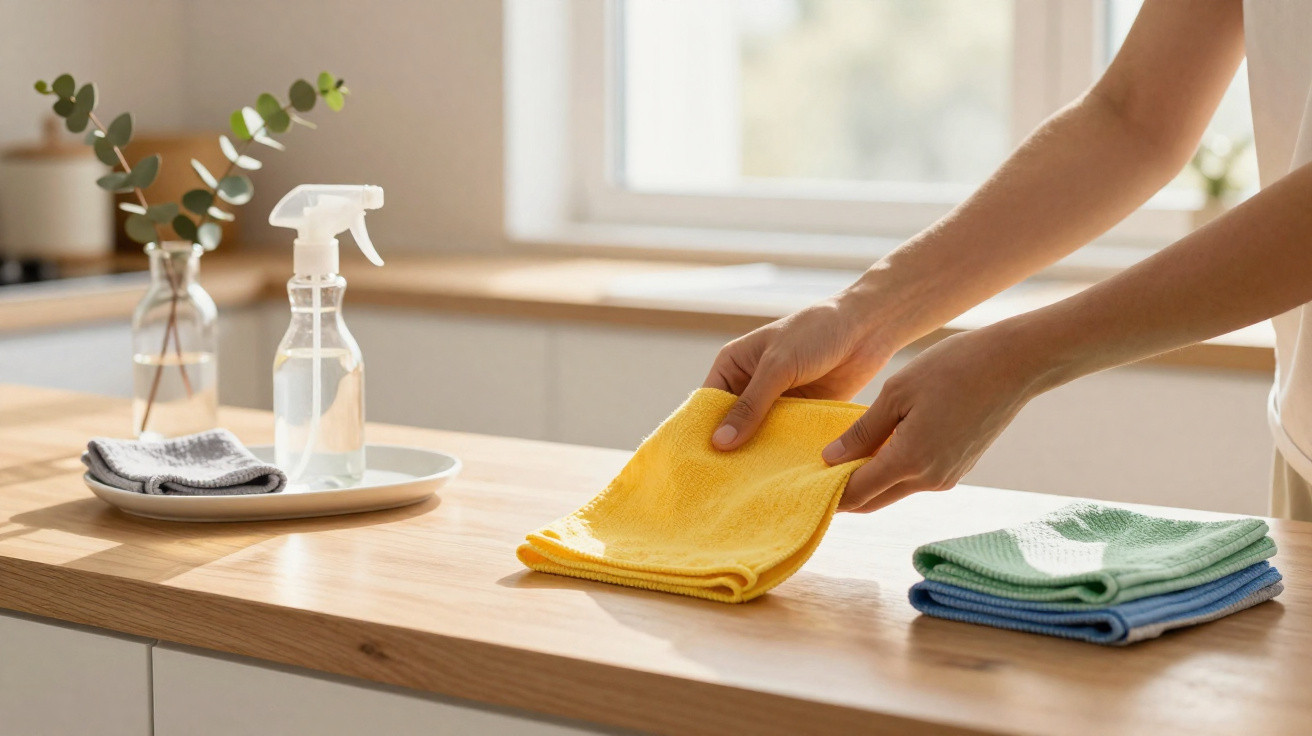
Immerse a flat microfibre mop in the solution, then wring it out firmly. It should be barely damp, never wet. Work in sections approximately the size of a yoga mat. Move the mop along the timber grain with light pressure, using one or two passes rather than ten. While the section is still slightly damp, take a dry microfibre cloth or dry mop pad and buff the same area, again following the grain.
Continue with the next area. The rhythm is simple: clean, buff, clean, buff. It is quiet and almost meditative. The shine does not appear all at once; it gradually returns with every completed section.
People usually make mistakes in three ways: using too much water, applying too much cleaner and failing to dry or buff afterwards. We have all watched someone push a soaking mop over hardwood as though it were tiled flooring. The floor might withstand this once or twice, but eventually the seams can start to cup or turn dull. Over time, that habit is harsh on the surface.
Then there is the myth that more cleaner produces more cleanliness. Thick, foamy solutions leave behind a film that collects dust as soon as the floor is dry. That is why footprints can show up only minutes after mopping. Missing out the buffing stage is the final problem: the floor air-dries with streaks and patches, leaving you convinced that wax is needed to put it right.
On a personal level, it is tiring to feel as though your home is always working against you. Technically, though, you are asking the finish to perform beneath a blanket of residue. Once people see how quickly this simple damp-and-buff method works, they are often mildly annoyed that nobody mentioned it sooner.
“Hardwood floors don’t usually need more shine added,” says one flooring restorer I spoke to. “They need the existing shine uncovered, then protected from the wrong habits.”
Keep it as a calm maintenance habit rather than a military-style routine. In busy weeks, clean only the high-traffic path from the door to the sofa. Change cloths regularly so dirty microfibre is not being pushed across the floor. Save vinegar, steam mops and heavy waxes for other surfaces, not sealed hardwood.
- Use: pH-neutral hardwood cleaner, barely damp microfibre and immediate dry buffing.
- Avoid: vinegar mixtures, steam mops, and heavy wax or oil polishes on sealed floors.
- Look out for: cloudy film, a squeaky, sticky feeling under bare feet, and footprints that quickly reappear.
- Frequency: a light routine weekly or fortnightly, plus a more thorough section-by-section clean monthly.
- Aim for: a soft, natural sheen that reflects light without looking plastic or slippery.
The quiet satisfaction of hardwood floors that look new again
There is a small moment that often goes unspoken. Late at night, after everyone has gone to bed, you cross the living room in low light and notice a lamp’s reflection stretching gently along the boards. It is not a showroom shine, but a calm and confident gleam.
We have all experienced a moment when a room suddenly feels older than we are, and it stings a little. Reviving a hardwood floor without sanding or calling in a contractor is a modest rebellion against that feeling. You are not pretending the flooring is brand new; you are allowing it to age gracefully.
This uncomplicated technique, combining gentle neutral cleaning with quick buffing, has no glamorous product name. It makes no “instant mirror shine” promise. Yet it achieves something more valuable: it gives the room its light back. Morning coffee in the kitchen can feel slightly more cinematic, while everyday walking becomes a smooth, satisfying glide rather than a sticky shuffle.
Some people use it as a reset before putting their home on the market. Others quietly make it a monthly ritual, listening to a podcast with the windows slightly open. A few pass the tip on to friends considering expensive refinishing estimates they may not yet need.
A week later, you may find yourself pausing in the doorway, looking at your own floors and thinking: “They were never the problem. I just hadn’t been treating them right.” That is when a home stops seeming tired and starts to feel loved again.
| Key point | Detail | Why it matters to the reader |
|---|---|---|
| Skip vinegar and wax | They may dull or coat the finish rather than reveal it | Helps prevent damage and sticky, cloudy floors |
| Use pH-neutral cleaner + microfibre | It is gentle on the finish and effectively captures dirt and residue | Restores a natural sheen without refinishing |
| Always buff dry | Make a quick pass with dry microfibre after damp cleaning | Removes streaks, increases shine and stops floors feeling tacky |
FAQ:
- Can I ever use vinegar on hardwood floors? Highly diluted vinegar used rarely may not ruin your floors, but regular use can slowly dull or etch the finish. A pH-neutral cleaner is safer and more dependable in the long term.
- What if my floors are waxed, rather than sealed with polyurethane? Waxed floors are different. They generally require dedicated wax-based products and occasional re-waxing rather than standard pH-neutral cleaners, so check how your flooring was finished before you clean it.
- Is a steam mop suitable for hardwood? Steam drives heat and moisture into seams and tiny gaps. With repeated use, this may cause warping, cupping or peeling finish, so most flooring professionals strongly advise against it.
- How often should I follow the damp-plus-buff routine? In most busy households, once every one to two weeks in high-traffic areas is sufficient, with a more careful section-by-section clean around once a month.
- Will this repair deep scratches and worn areas? This method restores shine and removes residue, but it cannot mend gouges or exposed timber. Deep wear may eventually require professional screening or refinishing.


Comments
No comments yet. Be the first to comment!
Leave a Comment