
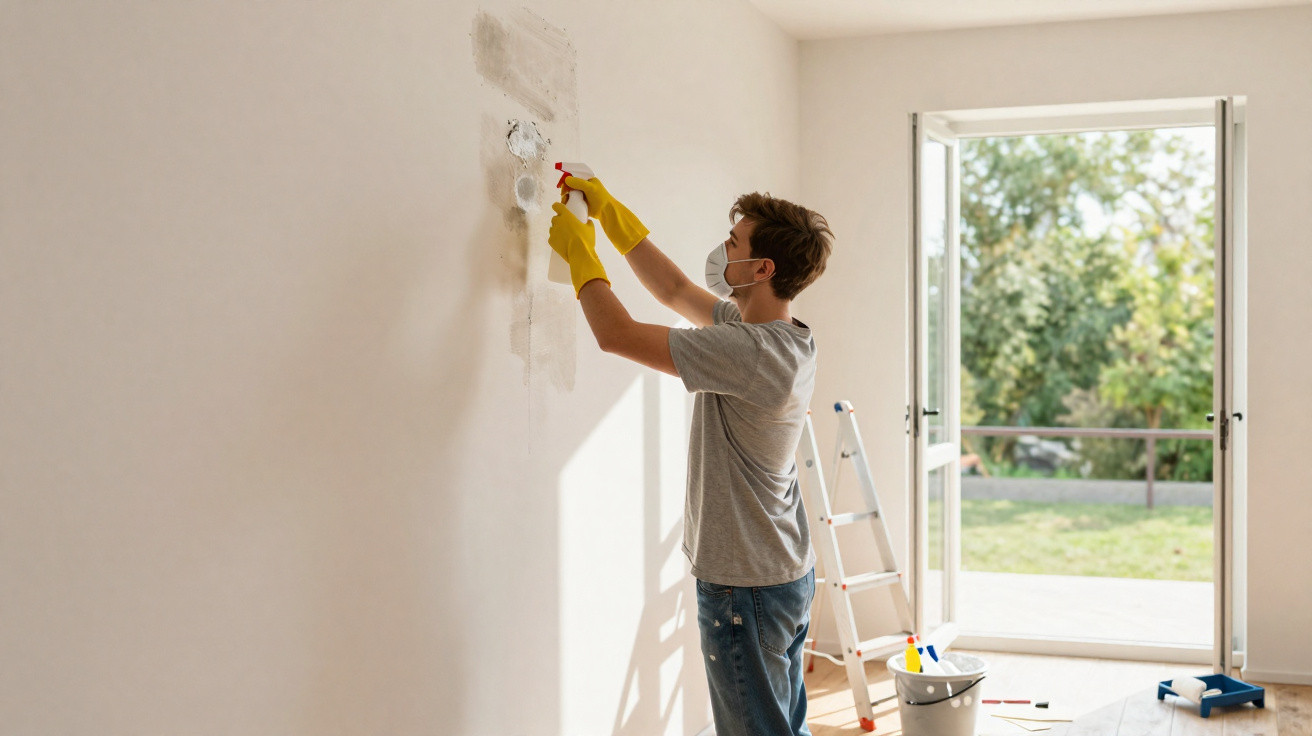
Removing mould from walls and ceilings is not merely a cosmetic matter: dark marks point to damp, poor ventilation or water ingress, and can also worsen allergies and respiratory conditions. Professional decorators therefore usually tackle the issue on two fronts: clearing away visible fungal growth and taking steps to stop it returning so quickly. This involves straightforward products, improved ventilation and, where required, suitable repainting.
How can you identify the source of mould on walls?
Before any cleaning begins, professionals establish where the moisture is coming from, as this determines whether sanitation alone is enough or structural repairs are needed. Blistered plaster, paint peeling away in sheets, or stains that spread rapidly are signs of water ingress and call for a plumber or damp-proofing technician.
Where the damp is superficial, normally caused by insufficient air circulation or steam from showers and cooking, careful cleaning and minor repairs may be all that is required. Even then, monitoring the wall for several days will help establish whether the problem has genuinely been brought under control.
Watch a video on the Clube do Pintor YouTube channel about effective homemade mixtures for cleaning damp marks and preventing mould from returning:
https://www.youtube.com/watch?v=qMiwKIn0N7w
How to clean mould from walls step by step
The most commonly used method for removing mould from a wall combines equal parts water and bleach. Apply the mixture directly to the marks with a sponge, cloth or spray bottle, always keeping the windows open. Some decorators add a small amount of mild washing-up liquid to lift grease and built-up dirt, leaving it to work for a few minutes before gently scrubbing.
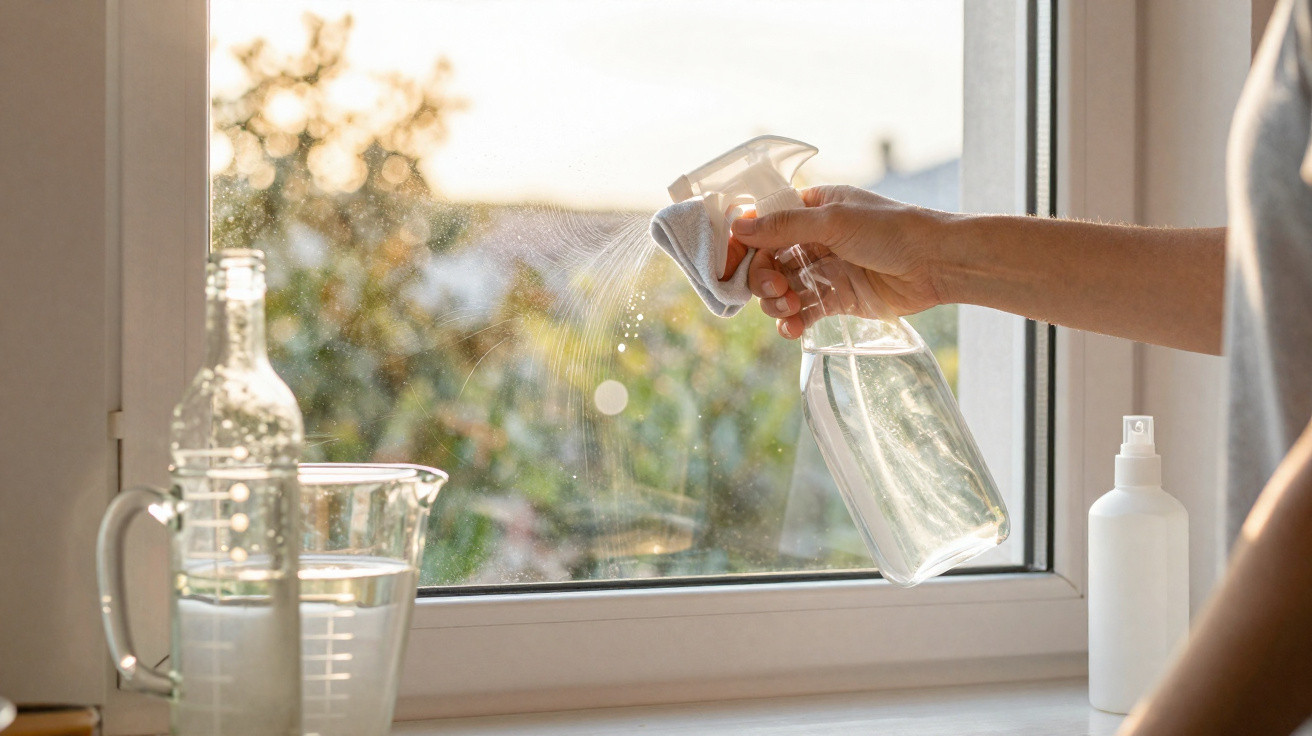
A further common option, particularly in small bedrooms or for people sensitive to the smell of chlorine, is undiluted distilled white vinegar. Apply it to the mould, leave it for 20 to 30 minutes, then wipe with a dry cloth. In larger areas or where mould is well established, specialist anti-mould products can supplement the initial cleaning.
How should you prepare a mouldy wall for repainting?
Once visible mould has been removed, allow the area to dry fully for several hours or up to a whole day; do not paint while the wall remains damp. When the surface is dry, many decorators lightly sand it with fine-grit sandpaper to smooth it and remove loose residue. Small holes can then be repaired with filler before another gentle sanding.
Next, applying an acrylic sealer or stabilising primer is recommended, as this improves paint adhesion and helps block slight dampness. For the final coat, washable acrylic paints or paints labelled anti-mould are preferable. In kitchens, bathrooms and utility rooms, products designed for damp environments provide greater resistance to steam and condensation.
What measures help prevent mould from returning?
Getting rid of mould is only one part of the solution: everyday habits reduce trapped moisture and maintain air movement, making marks less likely to reappear. In cold or rainy locations, a quick visual inspection whenever the season changes can reveal early mould spots, which are far easier to deal with.
Some straightforward precautions, recommended by decorators and home-maintenance specialists, can be adopted as part of daily life:
- Open doors and windows for a few minutes each day to exchange the air.
- Avoid drying clothes in bedrooms or living rooms; use outdoor washing lines or well-ventilated spaces instead.
- Use extractor fans, fans or dehumidifiers in naturally damp rooms.
- Check gutters, roofs and pipework regularly for signs of water ingress.
- Position large furniture a few centimetres away from walls to reduce condensation.
When small marks appear, promptly cleaning them with the stated methods and improving ventilation will often prevent major renovation work. The space will consequently look cleaner, have fewer unpleasant odours and carry a lower risk associated with fungal growth indoors.


Comments
No comments yet. Be the first to comment!
Leave a Comment