
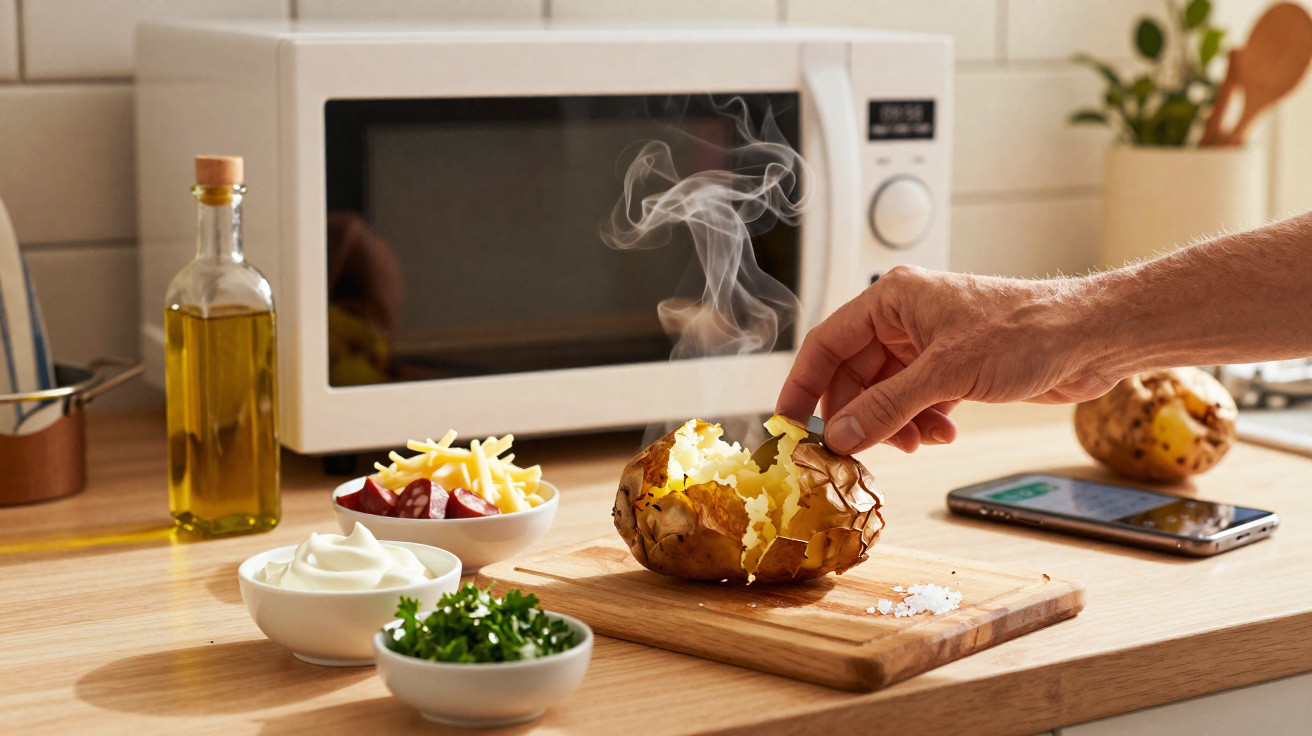
A genuinely good jacket potato can be made just as quickly. Chefs rely on one straightforward kitchen technique to cut dinner time dramatically.
It produces a fluffy, piping-hot middle and a skin worth eating. There is no need for a hob or to turn on the oven: all you need is a sensible setup and precise timings.
Why the jacket potato method works
Potatoes naturally contain water. Fast heating creates steam, which softens the starch from the centre outwards. This shortens the cooking process without leaving the potato waterlogged. Success comes down to managing the steam, venting at the correct points and finishing the skin so it is more than merely acceptable.
Prick well, wrap smart, microwave on high, then finish for texture. Ten minutes, a proper jacket feel, and very little washing up.
How to make a 10-minute jacket potato
Choose a suitable potato
- Size: look for potatoes weighing 220–280 g. Larger potatoes need more time and may become dry around the edges.
- Shape: an evenly shaped, rugby-ball-style potato heats more uniformly.
- Variety (UK): use Maris Piper, King Edward or Vivaldi for fluffy centres; pick Charlotte for a waxier result.
Prepare it quickly
Scrub the potato thoroughly to get rid of any grit, then dry it. Use a fork to pierce it 12–16 times over the whole surface, allowing steam to escape. For a savoury flavour, rub it with a small amount of oil and salt; this also helps the skin later on.
The chef-favoured microwave technique
There are three effective ways to cover the potato. Choose whichever suits your preference and the equipment you have:
- Microwave-safe cling film: wrap it loosely and make several vent holes. Where possible, prevent the film touching the flesh.
- Damp paper towel: wrap it tightly. This holds in steam and stops the skin becoming tough.
- Reusable silicone lid or pouch: leave a slight opening so steam can escape.
Place the potato on an inverted microwave-safe bowl or a small rack. Raising it allows microwave energy to reach underneath and helps prevent damp patches.
| Microwave power | 250 g potato | 300 g potato |
|---|---|---|
| 700 W | 6 min + 3 min (flip at half) | 7 min + 4 min |
| 800–900 W | 5 min + 3 min | 6 min + 3–4 min |
| 1000 W+ | 4 min + 2–3 min | 5 min + 3 min |
Turn the potato over halfway through cooking. Once the time is complete, leave it to stand for 60 seconds, which finishes cooking the centre. Test it with a thin knife: it should pass in with minimal resistance.
No hob. No oven. Just a microwave, careful venting, and a one-minute rest to lock in fluff.
How to get crispier skin without an oven
Small countertop appliances and microwave accessories can add texture in very little time:
- Air fryer finish: coat the hot potato with a little oil and salt, then air fry at 200°C for 2–3 minutes. For most sizes, the total time remains below 10 minutes.
- Microwave crisper tray: heat the tray in the microwave for 3 minutes before placing the potato on it for 1–2 minutes. This dries the base well.
- Microwave grill function: where available, use grill mode for a final 1–2 minutes to dry out the skin.
Chef-style additions that boost flavour
Make a deep cross in the top, then squeeze the ends to open up the middle. Do this quickly while the potato is still steaming.
- Miso butter: mash 1 tsp white miso into 15 g butter for effortless umami.
- Smoked sea salt and rapeseed oil: a simple, bold and very British combination.
- Spring onion, cheddar, black pepper: classic bar-food character in seconds.
- Chilli crisp and Greek yoghurt: a lively weeknight mix of heat and tang.
- Tuna, capers, lemon zest: bright and protein-forward.
When batch-cooking two potatoes, stagger the timing: microwave both for 4 minutes, take one out, cook the larger potato for 2 more minutes, then switch them over. Microwaves work more slowly with greater mass, so cook in short intervals and test regularly.
Safety, materials and frequent mistakes
- Steam burns: always create vents and unwrap away from your face. Potatoes retain considerable heat.
- Cling film use: use only microwave-safe film, ensure there are vents and avoid direct contact where possible. Damp paper towel is equally effective.
- Hot spots: rotate and turn the potato. Without a turntable, stop the microwave and rotate the plate every minute.
- Dry centres: this indicates overcooking. Next time, reduce the cooking time by 60–90 seconds and allow a short standing period.
- Soggy skin: remove the covering for the final 30–60 seconds, or use a crisping finish. Salt draws moisture to the surface, where it then escapes as steam.
Why chefs value this method
Speed is important on the pass. The technique delivers a “baked” texture with little equipment, dependable timings and low energy consumption. While the potato cooks, you can prepare other components. It also avoids the lengthy oven preheat that uses up both time and money.
A 900 W microwave running for 8–9 minutes uses about 0.12–0.14 kWh. At 28p/kWh, that’s roughly 3–4 p for a hot, filling base.
Scaling up the recipe
To cook three to four potatoes, select smaller ones and arrange them in a ring around the outside of the turntable. Begin with 10 minutes at 900 W, rearrange their positions, then cook for another 2–4 minutes in 30-second bursts. Rest them beneath a clean tea towel for 3 minutes to distribute the heat evenly.
Topping matrix for easy options
| Goal | Base | Add-ons |
|---|---|---|
| High protein | Cottage cheese | Chives, smoked paprika, lemon |
| Comfort | Butter + mature cheddar | Spring onion, hot sauce |
| Plant-based | Hummus | Roasted peppers, olives, parsley |
| Speed | Tinned beans (rinsed) | Olive oil, pepper, grated carrot |
Handy extras
For lunch meal prep, cook two potatoes in the evening, refrigerate them and reheat for 90 seconds at work. Their texture stays good when the skins are left whole. When travelling or living in student halls, a small silicone steamer can serve as both wrap and plate, reducing waste and washing up.
For a pub-style crust without an air fryer, brush the skin after microwaving with a 1:1 mixture of oil and vinegar, then microwave it uncovered on high for one final minute. The acid helps remove surface moisture and firms the skin slightly. It will not replicate an oven-roasted finish, but it comes close enough for a Wednesday evening.


Comments
No comments yet. Be the first to comment!
Leave a Comment