
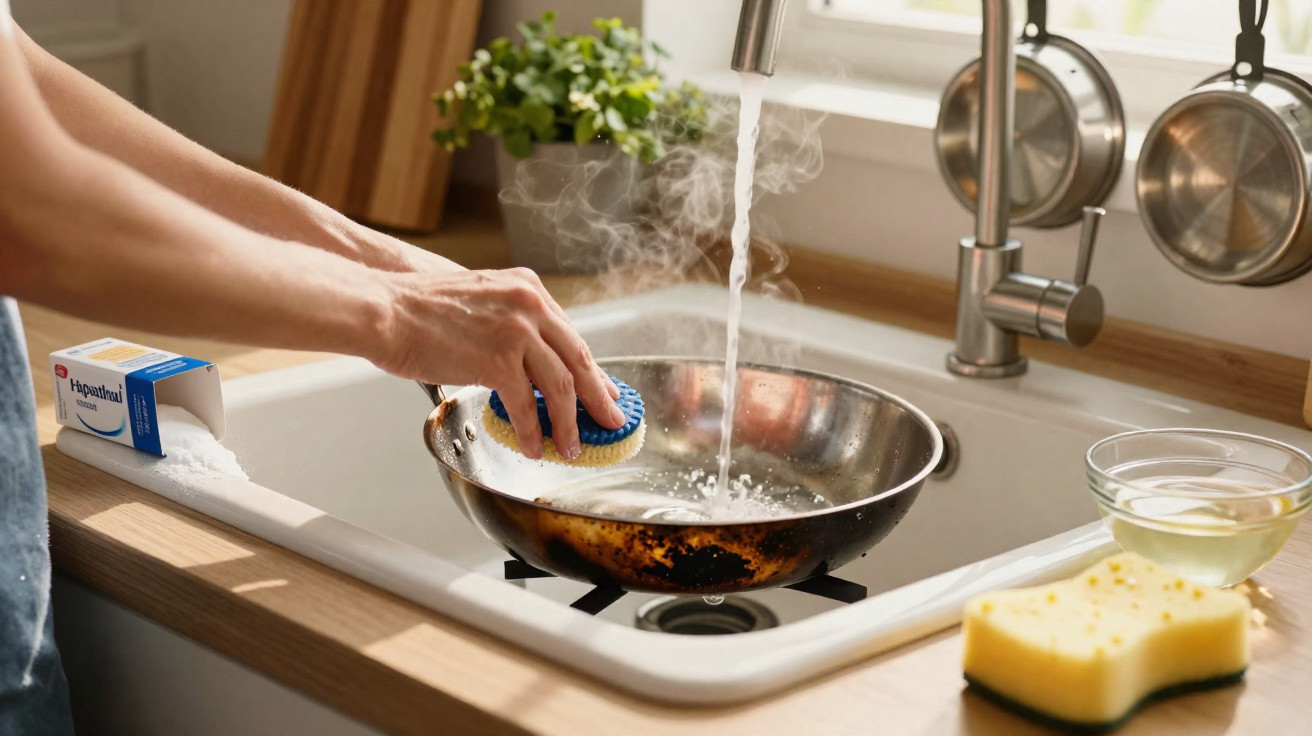
Burnt stainless-steel pans are a common occurrence in many home kitchens, especially when food is cooked over a high heat or left on the hob for extended periods. Dark marks on the base may look permanent, yet simple methods can lessen the damage and make cleaning easier without harming the material, provided the right approach is used for each type of burnt-on residue.
How can you avoid damage when cleaning a burnt stainless-steel pan?
Before trying to clean it, remember that stainless steel is durable but can be easily scratched by metal tools or highly abrasive scourers. The safest approach is therefore to soften burnt-on residue before scrubbing, helping to retain the pan’s shine and extend its usable life.
It is also best to avoid harsh products, such as strong removers and wire wool, as these can dull the surface and cause permanent scratches. With a few straightforward precautions, the pan can be restored without damaging the stainless steel or affecting its cooking performance.
Simple ways to clean a burnt stainless-steel pan
A practical way to tackle a burnt stainless-steel pan is to begin with gentle techniques, such as using hot water to loosen food stuck to the base. Cover the burnt area with water and heat it until it is nearly boiling; the residue should begin lifting naturally, so less effort is needed when using a soft sponge.
Another well-known option uses everyday ingredients, including bicarbonate of soda, white vinegar and lemon, which can help release residue and remove odours. Used moderately, these ingredients help restore shine without wearing down the stainless steel, making them suitable for both recent burns and older stains.
- Hot water to initially loosen fresh residue.
- Bicarbonate of soda to boost the removal of stubborn marks.
- White vinegar or lemon to tackle odours and darkened patches.
How to clean a burnt stainless-steel pan step by step
For a more systematic approach, follow a series of progressive steps: start with the gentlest method and move on only if the residue remains stuck. This minimises the chance of scratching the base and lets you identify the stage at which the burnt material starts to lift effectively.
- Hot water: fill the pan with enough water to cover the burnt base, bring it to the boil and leave it for around 10 to 15 minutes. Turn off the heat, wait a few minutes, then scrub gently with a soft sponge.
- Bicarbonate of soda: sprinkle 2 to 3 tablespoons over the pan’s base, add enough water to cover the affected area, and heat for roughly 10 minutes. Once cool, clean with a cloth or non-abrasive sponge.
- Diluted white vinegar: combine one part vinegar with three parts water, boil for about 10 minutes and, once cooled, remove the residue with a soft cloth.
- Vinegar and bicarbonate of soda: heat water with a little vinegar for several minutes, turn off the heat and add the bicarbonate of soda. After the fizzing reaction, leave it to work for around 15 minutes before scrubbing.
- Lemon: slice the fruit thinly, cover the pan base with water and heat it with the lemon slices. After boiling for approximately 15 minutes, allow it to cool and wash as usual.
How to protect your stainless-steel pan and prevent it burning again
Once a burnt stainless-steel pan has been cleaned, a few everyday habits can help prevent further incidents and maintain its shine. Managing the heat more carefully, stirring food reasonably regularly and monitoring the liquid level during lengthy cooking are simple measures that reduce dark marks on the base.
Cleaning immediately after use is also worthwhile, as this stops residue from drying out and sticking firmly to the surface. Drying thoroughly before putting it away, and occasionally wiping the exterior with diluted vinegar followed by a few drops of oil, helps preserve the smooth, even appearance of the stainless steel for longer.


Comments
No comments yet. Be the first to comment!
Leave a Comment