
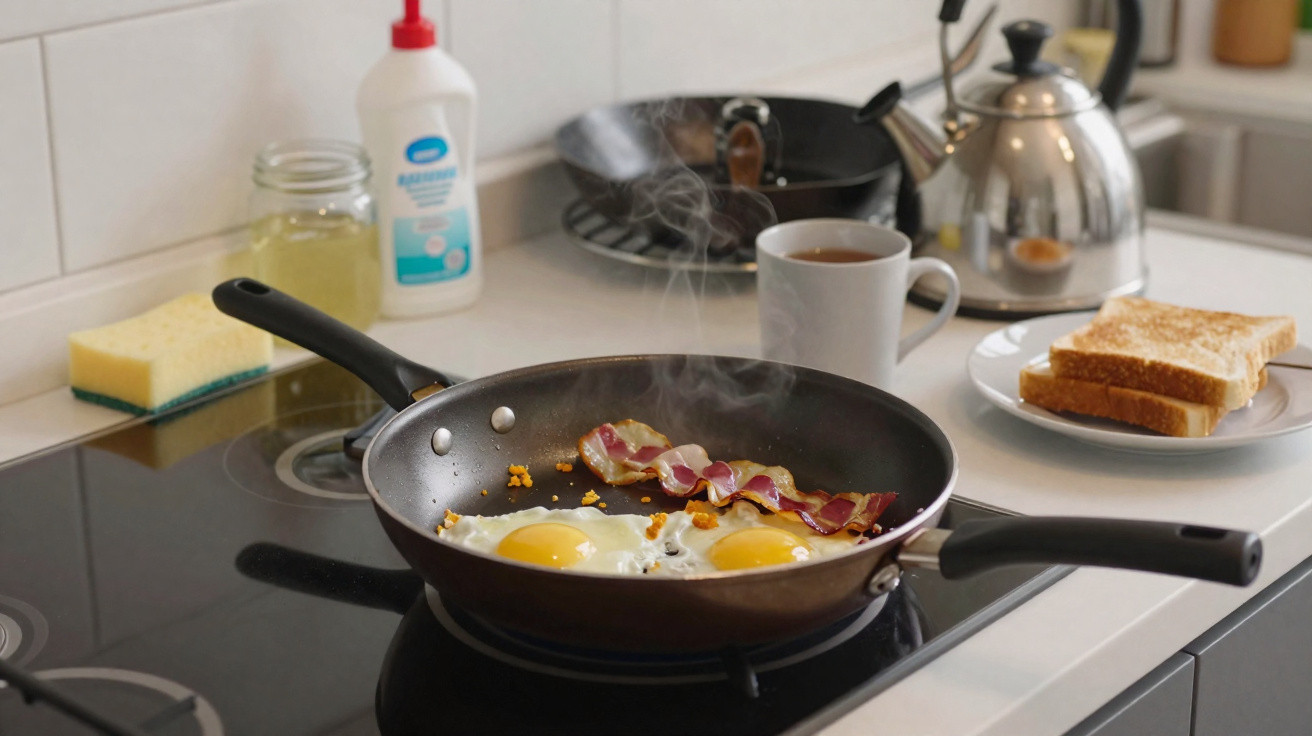
Your breakfast fry-up can tell you when your pan should be left alone before it is scrubbed.
Once the eggs, bacon and tomatoes are done, it is tempting to rinse and scrub straight away. Pause for a moment. Giving the pan a little time can safeguard its coating, stop it warping and even improve the flavour of your next meal. It all comes down to the relationship between heat, oil and timing.
Why letting your pan rest protects it
Pouring cold water into a very hot pan makes the metal shrink at different rates. Pan bases can warp, while non-stick coatings may develop tiny cracks. Food then begins to stick earlier, leading to more vigorous scrubbing and faster deterioration. What seems like a two-minute time-saver can become a costly routine.
Allow the pan to reach a temperature that is warm yet safe to touch to limit thermal shock. Its surface has time to settle, and fats firm up enough to help loosen cooked-on residue. Gentle washing then does the job, saving both your wrist and your money.
Golden rule: never douse a hot pan under a cold tap. Wait until it’s warm, not hot, then clean with mild heat and a soft sponge.
The 10-minute rule
Professional cooks often follow an easy pattern: switch off the hob, pour surplus fat into a heat-safe jar, and leave the pan on an unheated ring for 10 minutes. Clean it afterwards, while it remains warm rather than fiercely hot.
That remaining warmth allows water and a small amount of washing-up liquid to release proteins and sugars. There is no need for aggressive scrubbing, the surface retains its finish and the base remains level.
Different pans need different care
Each pan material responds best to its own cleaning approach. Tailor the tidy-up to the cooking surface.
| Pan type | Best immediate step | Avoid | Why it helps |
|---|---|---|---|
| Cast iron | Leave for 10 min, wipe clean, apply a thin layer of oil, then heat for 1 min to set it | Soaking, harsh soap, sitting wet | Maintains seasoning, prevents rust and improves non-stick performance |
| Carbon steel | Leave for 10 min, deglaze using hot water, dry, then oil lightly | Dishwasher, citrusy detergents | Develops patina and helps prevent sticking |
| Stainless steel | Let it cool until warm, deglaze with hot water, then use mild detergent | Thermal shock from cold tap water | Loosens fond and keeps the base flat |
| Aluminium non-stick | Cool until warm, then use a soft sponge without abrasives | Metal utensils, aerosol sprays, high heat empty | Preserves the coating and slows peeling |
| Ceramic-coated | Let it cool until warm, soak briefly where necessary, then use a non-abrasive pad | Thermal shock, scouring powders | Stops micro-cracks forming in the glaze |
Cleaning your pan more cleverly after breakfast
- Deglaze while it is warm: Pour a small splash of hot water into the pan and swirl it around. Stuck-on pieces loosen and can form the base of a quick gravy.
- Use warmth properly: Warm water removes residue that cold water can make firmer. Very hot, but not boiling, water is effective.
- Pick a suitable tool: Use a soft sponge on non-stick, a nylon brush on stainless steel, and coarse salt with a towel on cast iron.
- Dry it straight away: Rust and water marks reduce a pan’s lifespan. Put it over heat for 30 seconds to evaporate any remaining moisture.
- Oil where appropriate: A teaspoon of neutral oil helps preserve the seasoning on cast iron and carbon steel.
A thin, invisible film of oil on iron pans isn’t dirt. It’s protection. Wipe off excess, then leave a whisper of oil behind.
Handling stuck-on food and lingering odours
Stainless steel
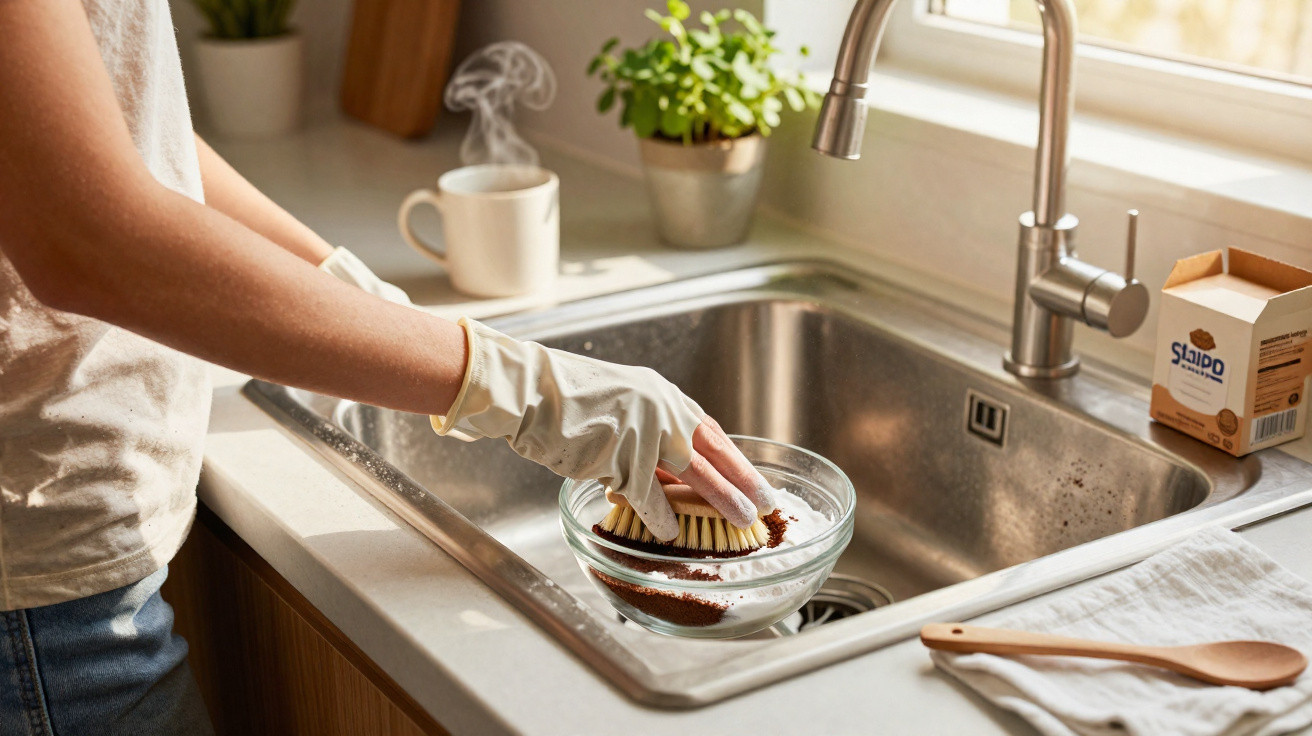
Pour in enough water to create a 1 cm depth, then bring it to a simmer in the still-warm pan. Use a wooden spatula to lift the residue. For persistent sugary deposits, add a pinch of bicarbonate of soda. Rinse, then dry the pan over heat.
Cast iron and carbon steel
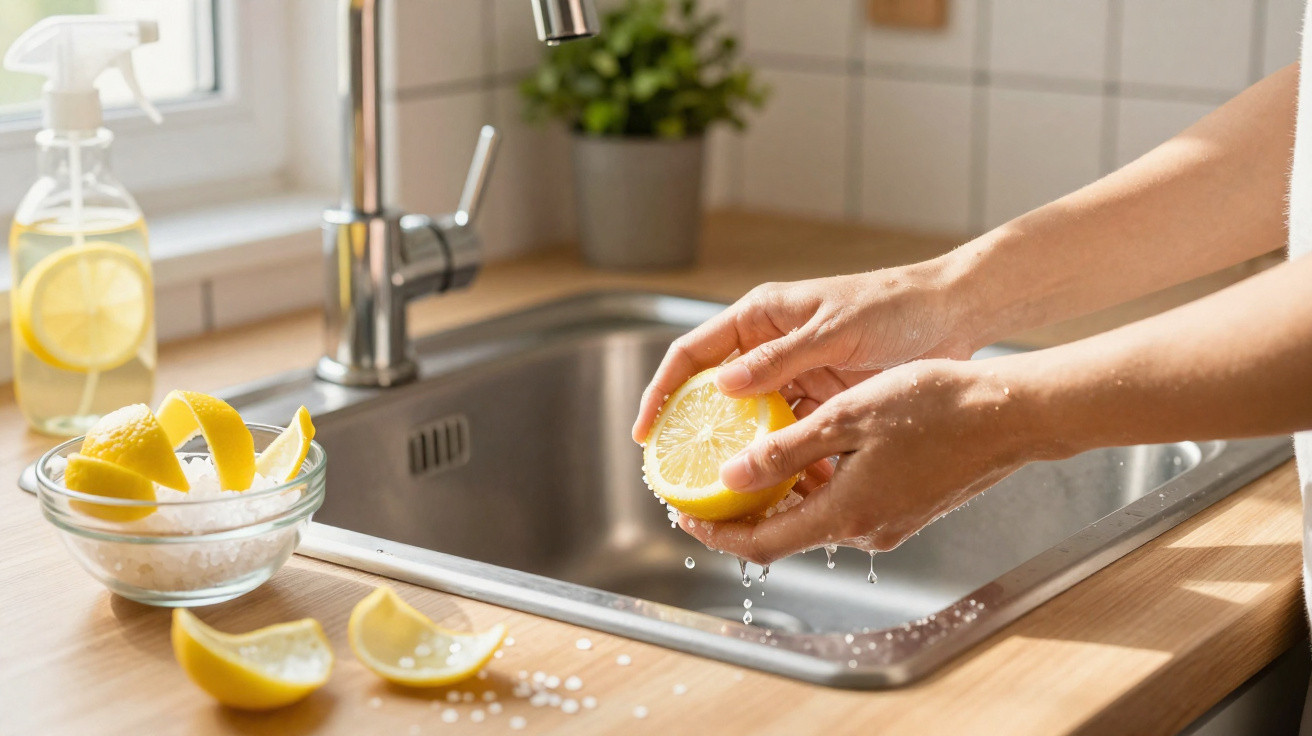
Tip coarse salt into the warm pan and rub it around with a folded piece of kitchen roll. Rinse it quickly, dry it on the hob and wipe over with oil. Heat for one minute so the protective layer polymerises.
Non-stick and ceramic
Place the warm pan in hot water for five minutes. Clean it with a drop of mild washing-up liquid and a soft sponge, rinse with warm water and leave it to air-dry on its side. Do not scour it.
Hygiene and timing without panic
If you have removed the food and poured away the fat, leaving a pan for an hour is rarely a concern. Bacteria require both moisture and time. Wipe down plates and pans before the school run, then complete the washing-up when you get back. Do not leave residue from raw meat sitting all day. For safety, wash pans used for protein within two hours, or refrigerate them if they must wait longer.
Move food, drain fat, then wait. The pause protects the pan; the wipe protects you.
The cost and energy benefits
A warped pan distributes heat unevenly, which wastes energy. Once coatings are damaged, the pan may need replacing sooner. A brief cooling period helps avoid both issues. When food residue lifts easily, you also need less washing-up liquid and less hot water. This reduces household bills and waste headed for the bin with very little effort.
Mistakes that quietly damage pans
- Running a cold tap over hot metal can bend pan bases and fracture coatings.
- Using metal utensils on non-stick scores the surface and can start it peeling.
- Heating an empty pan for too long makes oils smoke, degrades coatings and can begin warping.
- Aerosol cooking sprays leave behind a sticky, gummy coating that feels like food sticking.
- Storing unprotected pans in a stack chips rims and scuffs surfaces; place pan protectors or a tea towel between them.
- Leaving salty water in stainless steel encourages pitting, which does not properly stop once it begins.
A quick pan routine you can maintain
When frying is finished, drain off the fat and put the pan to one side. Clear the table and make a brew. Return after 10 minutes with hot water and a soft sponge. Deglaze, wipe, rinse, dry it over a low flame and oil it if it is iron. This four-minute routine can save years of wear.
If your pan already looks worn out
A non-stick pan with a flaking coating should be replaced for safety. A stainless-steel pan with a slightly convex base may still function on gas, but it is likely to struggle on an induction hob. Rusty cast iron can be restored: scrub it back to bare metal with steel wool, dry it in a low oven, then add three thin coats of oil, heating between applications until the surface becomes darker.
Extra pan-care tips worth knowing
For less sticky eggs in a stainless-steel pan, preheat the pan first, add oil and wait for the oil to shimmer before cracking in the eggs. Food clings when the metal is not hot enough. To reduce odours, warm a wedge of lemon in a damp pan for one minute, then rinse it. For a quick temperature check before washing, touch the handle: if you can hold it for three seconds, the pan body is ready to be cleaned with warm water.
On hectic mornings, use a “holding pattern” plan. Wipe the pan, leave it warm on the hob and finish washing it after the school drop-off. Set a monthly calendar reminder to re-season iron pans. Keep a labelled jar for reserved bacon fat; it seasons pans as you cook and reduces waste. These small routines help cookware last longer while making breakfast taste better.
Comments
No comments yet. Be the first to comment!
Leave a Comment